


POPU Tips Of The Week
2025/4/14
2. How to fix your zebra patches on Power Brows
POPU Tips Of The Week
2025/4/14

ダイバを受け入れ、ダイバになる

Let customers speak for us
It's a very good product. It's easy to use and I'm very satisfied with it.


I haven’t received the package yet. Once I receive it, I’ll be happy to leave a review.
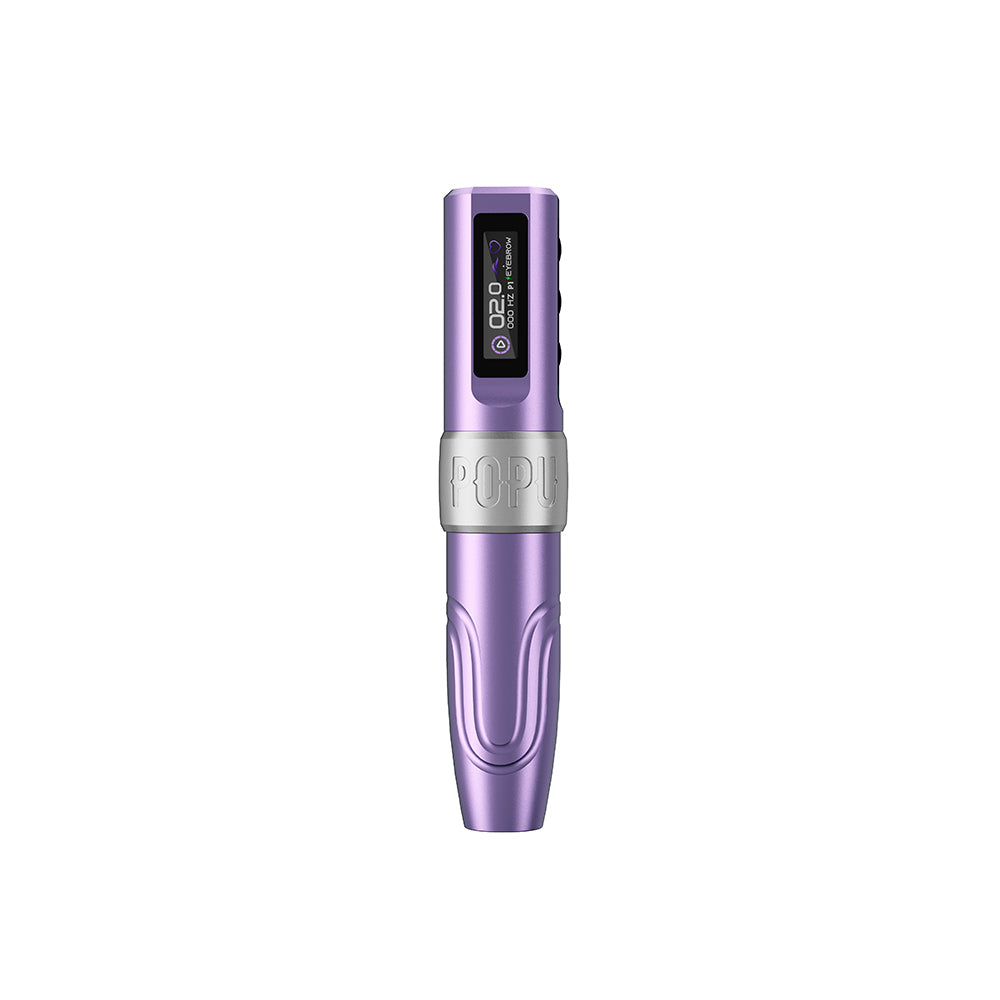
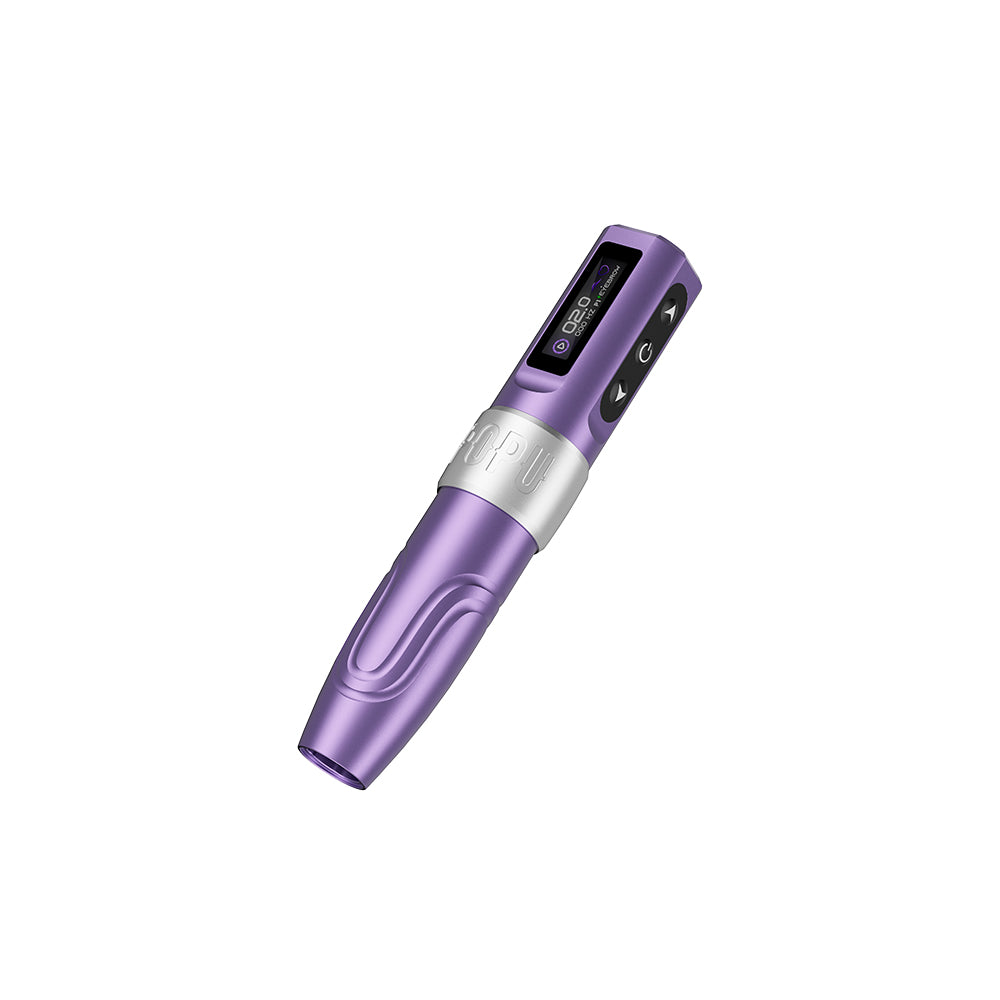
POPU DIVA Adjustable Stroke wireless PMU Pen Machine

I recently bought Popu Clover Needles for my brow procedures and I'm in love with the results, the needle flows in a soft way in the skin and I have used other needles and can firmly say this are the best I've ever used

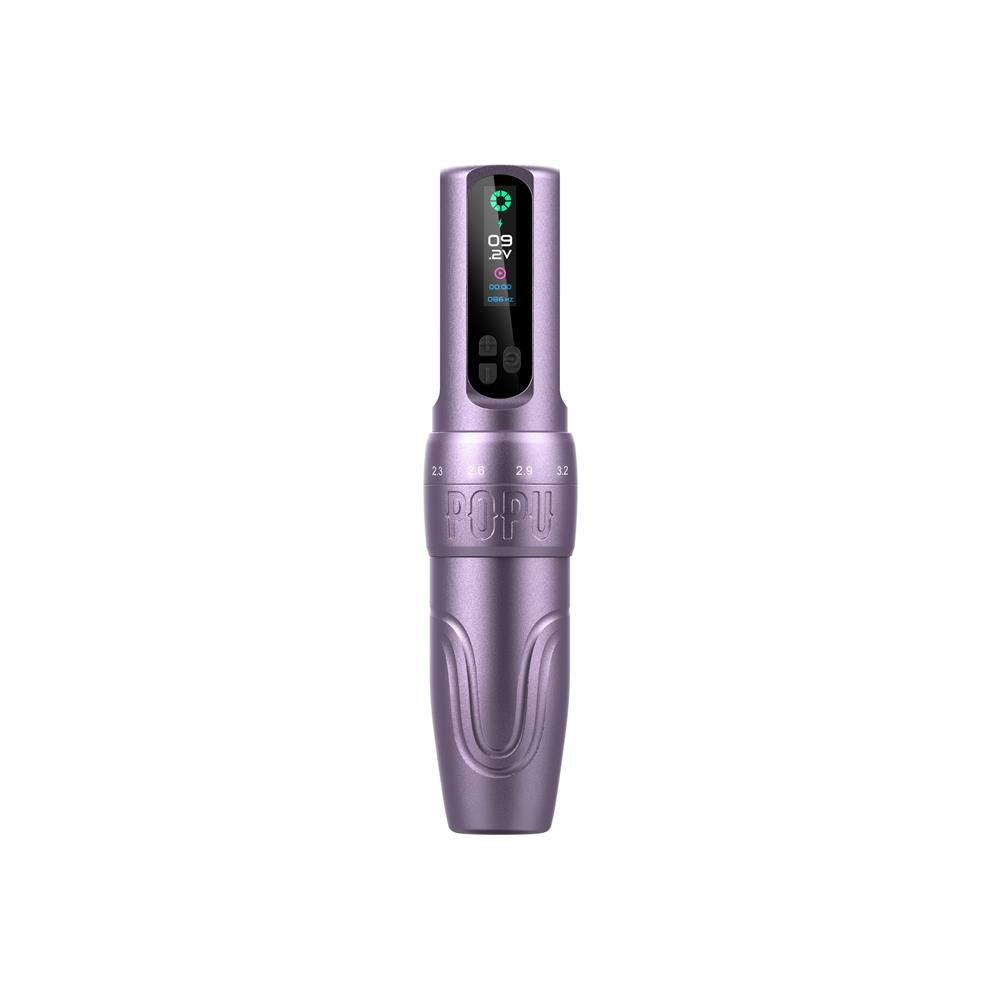
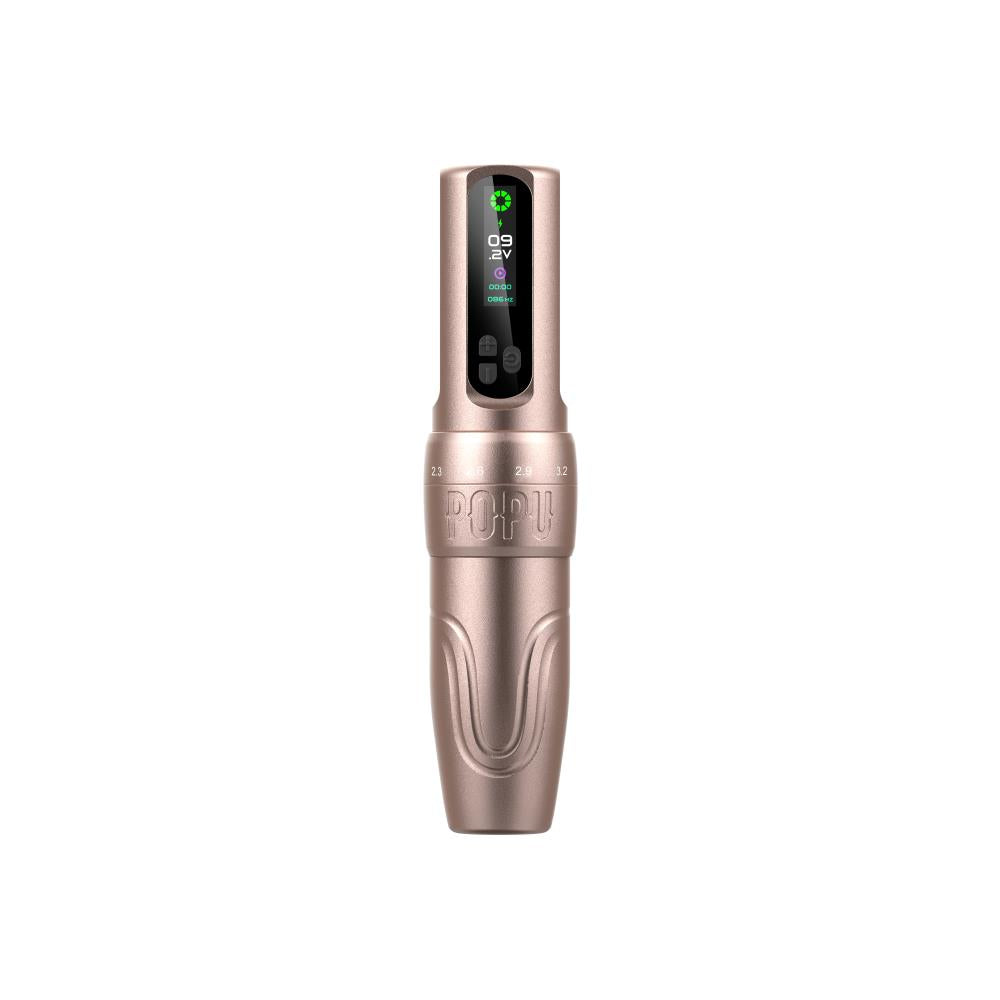
POPU MINI DIVA 2V Start-up Wireless PMU Machine with 3.0mm Stroke Permanent makeup
軽く操作しやすい。
ハリのブレも最小限だと感じる
Wow I love my Popu mini diva, it's light to hold, quiet vibration, the perfect length to hold in small hands..it's very easy to use as it has set voltage installed to each mode of use from lips to hairstroke and the speed can also be adjusted while in use to suit your needs, I'm delighted with my new mini diva 🥳😊💕

I usually work with a medium-stroke machine, but wanted to give a short stroke a try... I decided to purchase the Lola Air Pro on a whim, and had very low expectations.
I can't believe it, but this is actually my new favourite machine! I have used it on both latex and real skin, and the versatility of the stroke lengths is amazing. The 3.3hit feels absolutely powerful enough to tackle thick skins, and the 2.0 stroke is phenomenal for implanting minerals in the hair stroke technique... It has a bunch of other hits in between those two, making it an incredibly useful tool!
I love it so much that I purchased a second machine & battery as backup. I never want to be without this device! The weight is well-balanced and it's the perfect balance of not-too-big and not-too-small! I'm at @forever.flawless.pmu if you'd like to ask me questions or see the work I do with this device!

My name is Elizaveta Surkova, I am a permanent makeup artist and trainer. And in my work I choose the best.
I want to tell you about my new products from POPU microbeauty.
Firstly, the packaging is very nice.
Secondly, the quality of all the products is very high.
The pencils are easy to draw and hold well.
Now more about the Diva permanent makeup machine. It is very modern and comfortable in the hand. A big plus is that it is a cordless machine, but the kit includes an adapter for the cord in case you forget to charge the device.
The machine is powerful, works from a network of up to 12 V. It is suitable for all areas, as well as for working with the scalp and tattoos.
And of course, a huge plus is the affordable price.
I believe that the machine is perfect for both beginners and experienced masters.

I purchased this for nano needling but ended up trying it for PMU and I have to say I have truly enjoyed its lighter and cordless. Which my other machine isn’t although I spent far Marre on my original pen. I love my Lola pro.
Second purchase, bought for my students. A beautiful and perfect machine—absolutely love it!
Love Mini Diva. Cute device and so easy to set up and use. Best machine ever 💜
This is exactly what I need!!!

ブログ投稿

The Truth About Dark Lips and How Professionals Neutralize Them
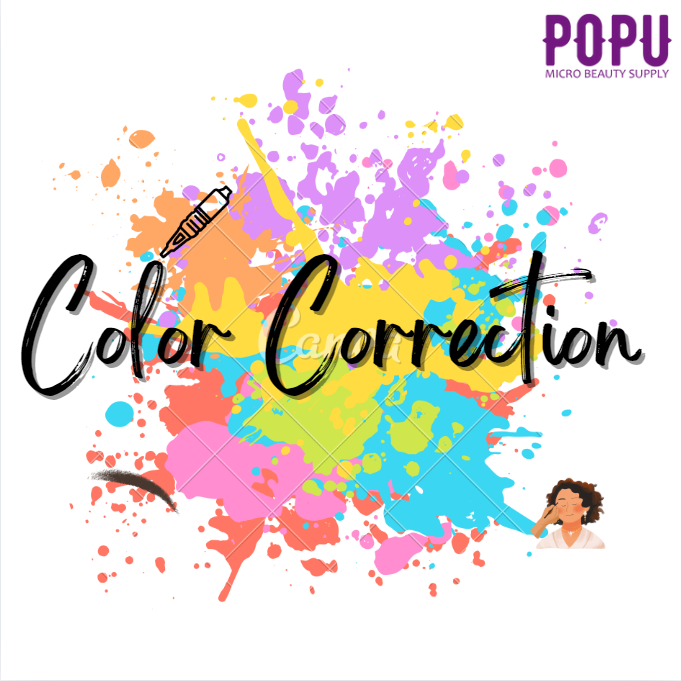
Brow Tattoo Color Changes: What to Expect and How to Correct Them
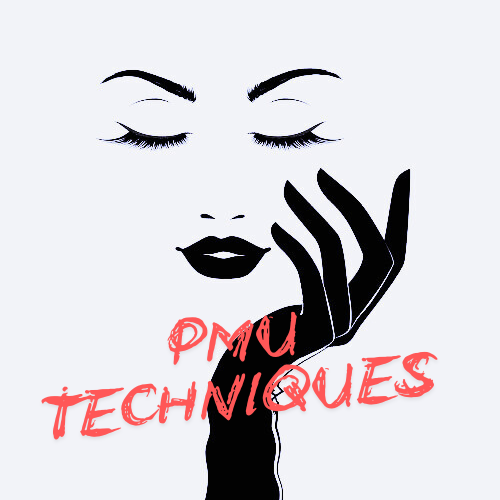
Elevate Your PMU Skills: A Deep Dive into Brow Techniques
チームに参加しようとしていますか?
ポップエースチーム
POPU が開発した最先端のアートメイクマシンと PMU カートリッジを直接体験できる特別な機会を持つ POPU ACE チームの一員としてぜひご参加ください。
POPUアフィリエイトプログラム
これは POPU との独占的なコラボレーションであり、世界中の PMU アーティストやソーシャル インフルエンサーの参加を歓迎します。当社の製品に情熱を持っており、限定割引や手数料を獲得しながらより多くの人々と製品を共有したい場合は、当社のプログラムにご参加ください。